How to Clean a Circuit Board
Quick Links:
- How Do Circuit Boards Get Dirty?
- Prevention and Safety
- How Do You Clean Circuit Boards?
- Tools for Cleaning
- What Causes Corrosion?
- How to Clean Corrosion
- Steps to Clean a Circuit Board
- Clean a Wet Circuit Board
- Remove Solder Flux
- Regular Cleaning and Repair
Cleaning a circuit board can seem like a difficult task to tackle, but these boards get dirty all the time. A slew of different materials are hazardous to the performance and safety of these devices. Watching out for such dangers and addressing the damage they cause can keep your work productive and the tools needed for the job functioning properly. Read on to learn how to clean your circuit boards while also maintaining your own safety standards.
How Do Circuit Boards Get Dirty?
Circuit boards are found in nearly all electrical devices, including computers and industrial equipment. Over time, water, dust and grime can find their way into your company’s devices and build up to a point where you must take action to prevent permanent damage to the equipment.
The fans responsible for keeping equipment’s temperature at a cool environment suitable for proper functionality can draw in debris found in the air and any dirt clinging to nearby surfaces. The build-up of unwanted material leads to overheating and component failure.
A liquid such as water is not nearly as detrimental to electronics as the additives it almost always contains. Even plain drinking water contains ions such as sodium chloride and a slew of other minerals that heighten its reaction to electronic devices.
Once a liquid with good conductive qualities contacts an active device, electrical connections travel through currents to deactivated regions of the circuit board that can lead to short-circuiting. This harms a circuit and damages your device.
Prevention and Safety With Circuit Boards
To avoid dirty circuit boards, you can take preventative steps. Get in the habit of ensuring any electronics not in use are set to the “OFF” position, as the likelihood of adverse repercussions resulting from water damage significantly drop if the affected areas dry before reactivation.
Exercise caution when handling circuit boards:
- Disconnect the device from its power source
- Avoid standing near any water
- Wear dry clothes
Disassembling hardware can be hazardous for the electronics, so make sure you understand how to properly handle the devices you work with and how to reassemble them back to their functioning state.
How Do You Clean Circuit Boards?
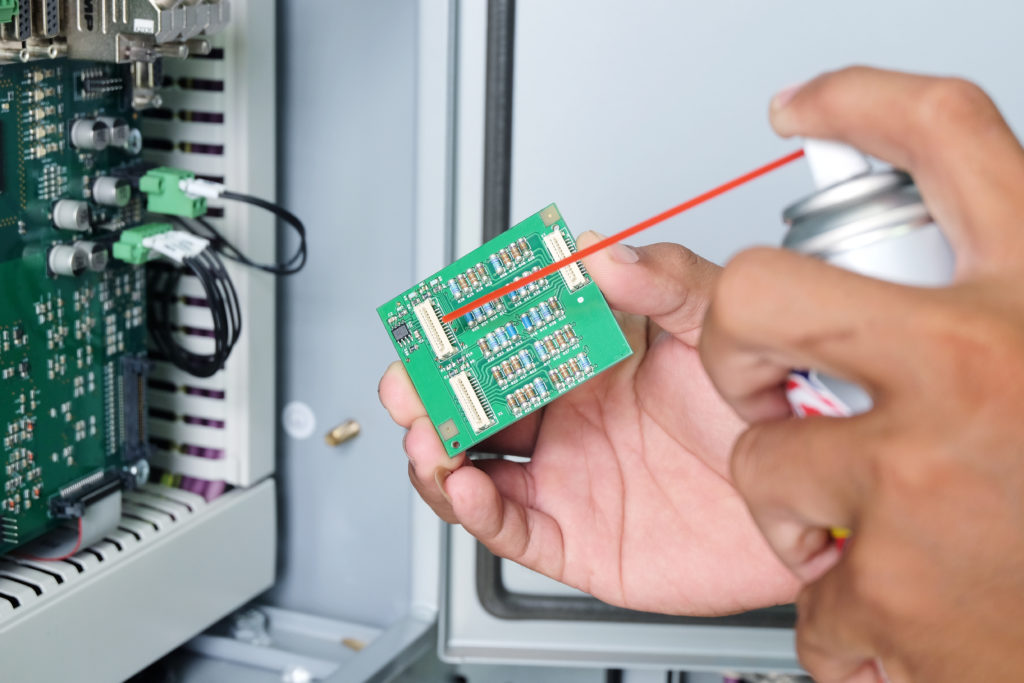
Cleaning a PCB (Printed Circuit Board) effectively relies on using the right methods and tools. The easiest ways will use:
- Compressed air
- Baking soda
- Isopropyl alcohol
- Distilled water
- Household cleaners
Employ a soft brush and lint-free cloth, too, to ensure nothing gets damaged.
Using Compressed Air to Clean PCBs
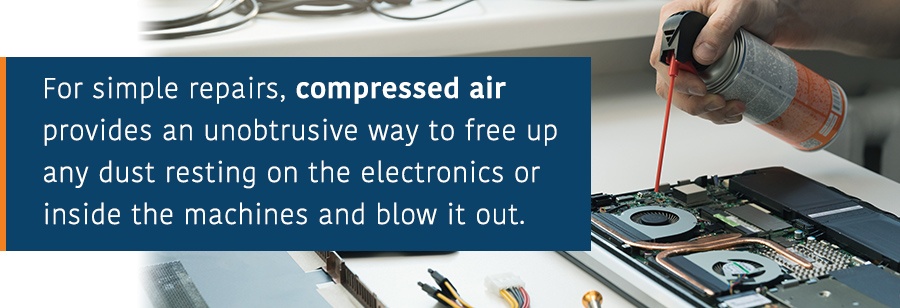
For simple repairs, compressed air provides an unobtrusive way to free up any dust resting on the electronics or inside the machines and blow it out. Use short bursts to spray the air inside the ventilation ports. If you’re not satisfied with the dust removed, open the device with a screwdriver and work your way around the components, carefully cleaning the circuitry with the air.
Using Baking Soda to Clean PCBs
Baking soda, or sodium bicarbonate, is an effective means of removing grime with minimal risk of damaging the board. It possesses mild abrasive qualities that excel in removing corrosion or residue that will otherwise not come off with simpler means such as a brush and distilled water. Baking soda is most effective when treating corrosion, as it dissolves the troubled area and neutralizes the acidic qualities of the residue.
Using Isopropyl Alcohol to Clean PCBs
Isopropyl alcohol is a great PCB cleaner and electric board solution because it is inexpensive and evaporates quickly. Compared to other cleaners used for similar purposes, alcohol contains fewer chemicals. It is important that isopropyl alcohol used to clean your circuit board is 90% or better. High-percentage isopropyl alcohol can cause adverse effects in contact with the body, so be sure to handle it with care and use latex gloves and goggles.
Using Distilled Water to Clean PCBs
Distilled water triumphs over any other form of liquid when mixing your cleaning solution due to the absence of ions conductive to electric devices. Pure distilled water will not degrade electronic devices, as it is a very poor conductor.
It also can become contaminated quickly by dirt found on your hands or in the air, so seal your reserve of distilled water when not in use and to avoid contact with your bare hands.
Using Household Cleaners to Clean PCBs
A phosphate-free household cleaner should also be in your arsenal and can be used as a PCB cleaner. While phosphates can be an effective chemical to protect against corrosion and possess other helpful cleaning properties, phosphorous pollution in lakes has become a real concern for the United States since the 1970s and many manufacturers have moved away from including them in cleaning products. Since then, companies have adapted to create phosphate-free cleaners that do the job just fine.
Tools for Cleaning Printed Circuit Boards
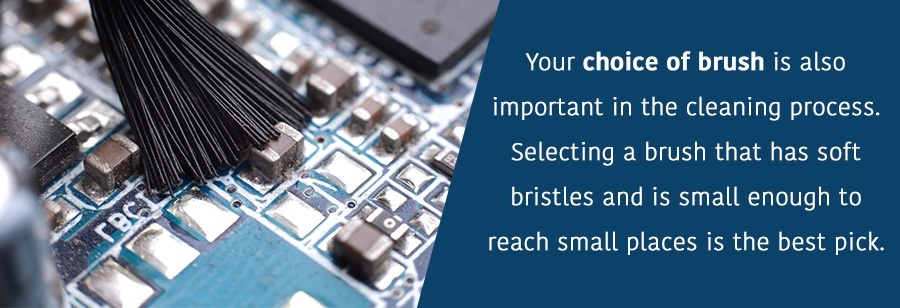
Your choice of brush is also important in the cleaning process. Selecting a brush that has soft bristles and is small enough to reach small places is the best pick. A toothbrush or paintbrush are the best choices if your company does not have some sort of specialized scrubbing tool. Cutting a paintbrush diagonally is a good strategy so you can reach difficult angles with the long side while scrubbing with the short side.
Lint-free towels like microfiber cloths should be handy to rub down and dry off your delicate circuit boards. Even with extensive use, this type of cloth does not shed debris, which would be counterproductive as your goal is to remove the unwanted material from inside the affected devices.
You can also utilize household appliances such as the oven to accelerate the speed of drying. An oven actively heating should never be used to dry electronics, but after the appliance is shut off, the heated environment is a great place to dehydrate any excess moisture after cleaning. Substituting a blow drier or desk lamp in place of an oven as the catalyst for drying is fine too.
Take similar steps no matter what material has dirtied your circuit board. The device should be removed from the environment it has been soiled in, disassembled and scrubbed with various cleaners appropriate for each job.
What Causes Corrosion in Circuit Boards?
Corrosion naturally occurs as devices age. Gradually, the metal conductors in devices react with their environment to form a layer of iron oxide, called rust, which is a much less conductive compound. You can think of this phenomenon as the electronics defense mechanism to prevent short-circuiting. While rust is the most familiar form of corrosion, there are other metals and means of degradation that also occur in certain circumstances.
If a liquid is not promptly dried from a device, corrosion will occur. Corrosion happens when the metal used to pass connections throughout a device has been exposed to environmental oxidants such as oxygen, sulfur and hydrogen. These chemicals are found in the air as well as water. Circuit boards exposed to salty air or water, as well as acid leaks from degraded batteries, can cause corrosion. If left unchecked, corrosion can lead to the break of a connection and the falter of a device.
How to Clean Corrosion From a Circuit Board
The tools needed while handling a corroded device include common household items, and your company can use careful tactics that should not prove to be difficult for those in the electronics field. Things you will need include:
- Baking soda
- Distilled or deionized water
- Soft-bristled brush
- Phosphate-free household cleaner
- Lint-free towel
- Household oven
Once you’ve gathered the necessary tools and materials, it is time to create your cleaning solution and prepare your circuit board for restoration.
Steps to Clean a Circuit Board
- To create a circuit board cleaner spray, use a quarter-cup of baking soda and 1 or 2 tablespoons of water until the mixture is thick in consistency.
- Take a photo or make note of the circuit board’s configuration to allow for easy reassembly once the cleanup is complete.
- Disconnect cables and remove any chips coming from the circuit board.
- Dip your brush into the PCB cleaning liquid you’ve created and start scrubbing the board carefully to loosen up the corroded areas.
- Once you’ve applied the baking soda and water mixture to all the affected areas, allow 20-30 minutes for it to dry on the circuit board.
- Rinse off the circuit board with distilled water and ensure all the remaining dried baking soda is cleaned off. Using a separate, wet brush may assist you if there’s any trouble with this process.
- Use your phosphate-free cleaner such as Clorox or Lysol to spray the entire surface and allow it to sit for about 15 seconds.
- Lightly scrub the board again with your clean toothbrush, rinse it off and then dry it with a lint-free towel. Instead of wiping it down with a dragging motion, carefully dab the circuit board to ensure you don’t cause any damage.
- Preheat your oven to 170 degrees. Once it’s reached the desired temperature, turn it off, then place the circuit board within. Leave it there for around three hours to totally dry any moisture left over by your cleaning process. You may want to take it out sooner or leave it in longer depending on your oven and device.
- Reassemble your circuit board and test it to verify its functionality.
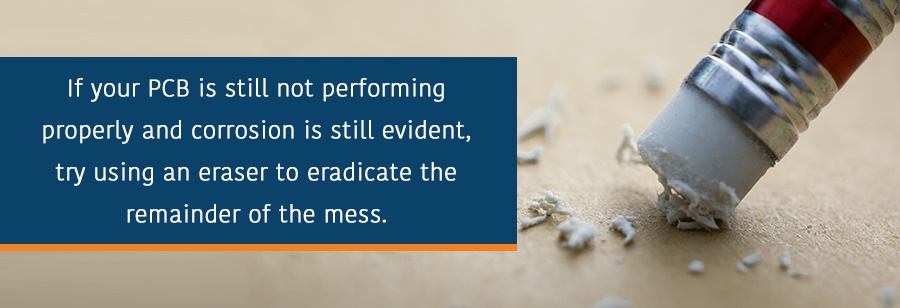
If your PCB is still not performing properly and corrosion is still evident, try using an eraser to eradicate the remainder of the mess. This method is particularly effective when the corrosion has accumulated on copper.
How to Clean a Circuit Board That Got Wet
A liquid such as water, industrial substances and more often find their way into electronics. Contact with such liquid does not have to mean a total replacement if you follow a proper cleaning procedure. Things you will need:
- Container
- 90% isopropyl alcohol
- Distilled or deionized water
- Soft bristled brush
- Blow dryer/desk lamp
The first steps for how to clean a circuit board that has been exposed to water involve basic safety and straight-forward methods for extracting any moisture within the device:
- Disconnect the device before handling it
- Turn off the device
- Rotate and shake the device to drain fluid
- Remove battery
- Disassemble what you can of the device to further allow water drainage.
If your equipment still experiences issues, cleaning the circuit board itself comes next. Follow these steps:
- Completely disassemble the device. Disconnect all cables and open connectors, and remove shields to gain complete access underneath the circuit board. Place your circuit board in an appropriately sized vessel with enough 90% or higher isopropyl alcohol to submerge it after removing any external technology. If you are unable to find such a high concentration of isopropyl alcohol at a local drug store or pharmacist, using deionized or distilled water as a slower drying alternative is sufficient.
- Once you’ve removed your device from the cleaning solution, use a soft-bristled tool such as a toothbrush or paintbrush to remove any leftover grime. Be sure not to brush vigorously to avoid damaging the circuit board. If your company has access to an ultrasonic cleaner, utilizing this specialized tool enables you to clean hard-to-reach places your basic bristled tool cannot reach, such as connectors and ribbon cables or underneath chips.
- After you’re done scrubbing, place the circuit board underneath a hairdryer set to cold or underneath a desk lamp to completely dry out any leftover moisture from the cleaning solution.
- Examine your board for any signs of the offending liquid that may remain and check to see if there’s any disfiguration or change in color to the battery. If anything looks out of the ordinary, dispose of the battery and replace it.
- Reassemble the device and check to see if it’s working correctly. The battery, LCD and logic board are the most common components to fail upon liquid exposure, so examine these first.
Get Circuit Board Replacements
How to Remove Solder Flux From PCB
Soldering occurs when two metals fuse using a heated metal with a low melting point that binds the two pieces together like glue. Flux is necessary for soldering to protect joints from metal oxides that inhibit a proper solder job. It does so by converting the metal oxides into salt and water that become locked in the flux once it hardens.
Solder flux can accumulate with a tainted yellow crust on the pins of chips where soldering has occurred. This issue is most common when a circuit board was not properly handled but is also an easily fixable issue. What you will need:
- Soft bristled brush
- 90%+ anhydrous/rubbing alcohol
- Lint-free towel/microfiber cloth
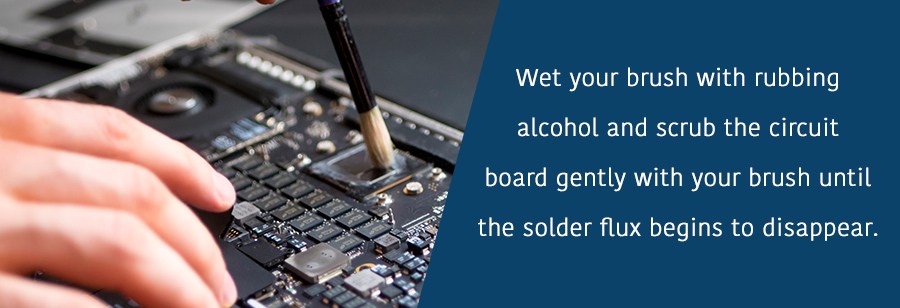
Wet your brush with rubbing alcohol and scrub the circuit board gently with your brush until the solder flux begins to disappear. Once you’re satisfied with the look of your circuit board, dab it with a small towel or microfiber cloth. If your company has access to anhydrous alcohol or a commercial cleaner for flux and grease removal, this can speed up the process. However, substituting these products for a high percentage rubbing alcohol is the more affordable solution.
Keep Your Electronics Functioning With Regular Cleaning or Repair
Understanding the different methods of how to clean a circuit board depending on what sort of grime has accumulated on your device is important, as clean boards can increase efficiency and productivity. Most strategies for getting rid of unwanted gunk involve common products most plants already possess. Effectively removing grime and restoring industrial equipment or other devices is not a difficult task once you understand the steps involved.
Want further assistance? The Global blog includes tips to keep your devices working and you can contact us to discuss repair options.
