Wire Crimping Process
Wire crimping is used to join wire to terminal or wire to wire. The wire crimping process is unique in that it does not use soldering. Bonding occurs when one piece of metal is compressed tightly with another section of metal. Manufacturers that carefully control every detail of wire crimping take the guesswork out of working with pre-crimped woven wire mesh.
The secret to successful wire crimping is a straightforward procedure and the proper tools and materials.
Why Do You Crimp Wires?
The purpose of crimping two wires together is to complete an electrical circuit and deliver electricity to a piece of equipment. Fabricators can gain a competitive advantage when they manufacture metal mesh to exact standards — this includes everything from weaving to crimping. By mastering the crimping process, your company can create highly functional, cutting-edge materials.
Benefits of crimping over wire wrapping and soldering include:
- With an alloy, stronger joints are formed.
- You can use crimped connections for cables of both large and small cross-sections. Only small cross-section wires can be employed with wire wrap.
- A well-engineered crimp is gas-tight, which prevents moisture and oxygen from reaching the metals and causing corrosion.
Five Steps to Crimp Wires Properly
How is a crimped connectionmade? Follow these five steps to crimp your wires properly.
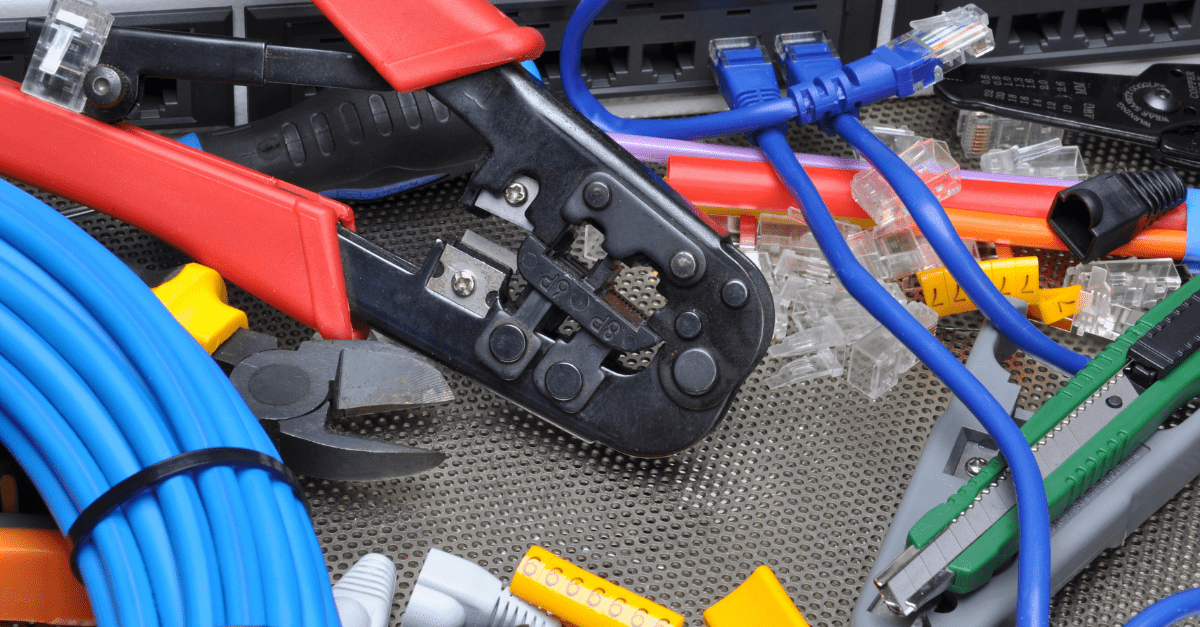
1. Gather the Right Tools and Materials
The wire crimping process requires the right tools and materials. These include:
- A stranded wire with required specifications
- Crimp terminals
- Crimp tool with a ratchet feature
- Wire strippers
- Heatshrink system
2. Choose the Wire
Always choose wires with individual strands and avoid solid wire.
Understanding the equipment’s requirements can help your business find the right wire type. To do this, look at the wire’s size — given as American Wire Gauge or AWG. Other ways to determine the wire size include:
- Confiscating a small length of the wire insulation.
- Counting the wire’s strands.
- Measuring the diameter of one strand.
- Multiplying the diameter of one strand by the number of strands.
3. Select the Terminal
The quality of the crimp joint on your wire will depend mainly on the crimp terminal chosen. Consider the following when choosing a terminal:
- Pre-insulation: These terminals use a metal sleeve to grip the wire.
- Plating: Terminals with plating ensure protection against corrosion and low contact resistance.
- Turned pin: Turned pin terminals support the creation of connectors and are constructed from rod materials.
4. Select Your Tool
The next step in the wire crimping process is selecting a tool compatible with the terminal. One way to find an appropriate crimping tool is to consult the crimp terminal manufacturer’s website for consonant tooling designs.
5. Crimp the Wire
The wire crimping process consists of the following steps:
- Measure the length of the wire, and strip the end. When you insert the wire into the crimp, there should be at least 1 or 2 mm extending from it.
- Expose the wire strands by trimming the insulation off the end.
- Fit the wire in the crimp. Take extra care to ensure all strands have been inserted.
- Place the wire and crimp into the crimping tool, ensuring both are correctly positioned inside.
- Cycle the tool until it releases.
- Remove the crimp. Make sure the wire is in the appropriate position, and the insulation is secure.
- Ensure the wire and crimp are secured by giving them a slight tug.
Count on the Professionals at Global Electronic Services
Before performing wire crimping, it’s always recommended to perform test crimps on other wires. At the same time, your most cost-effective choice is to purchase crimped electrical connectors custom-designed or off-the-shelf. Global Electronic Services offers a wide range of connectors that stand up to a variety of applications. Contact us today with any questions about the wire crimping process.