Why Proximity Sensors Fail (and How to Get Them Back Online)
When a proximity sensor fails, it can create a unique moment of confusion on the factory floor. Nothing looks broken, but the machine stalls, waiting on a signal that never comes. Operators may scratch their heads and troubleshoot the basics, but they’re ultimately left to the mercy of an invisible fault. The problem might not even be the sensor itself. It might be what’s around it — or what’s been passing by it. In any case, getting that proximity sensor back online starts with knowing what made it fail. Here’s where to start.
Step 1: Check for debris, residue, or surface buildup
Most varieties of proximity sensors are non-contact, but that doesn’t mean they’re immune to physical problems. Over time, sensors mounted near conveyors, feeders, or presses accumulate dust, grease, oil mist, or fine metal particles. That residue can block the signal path, disrupt electromagnetic fields, or confuse capacitive sensors entirely. Start by wiping down the faceplate, clearing any buildup inside the mounting bracket, and looking for small chips or scratches that might distort the signal.
Step 2: Verify target distance and alignment
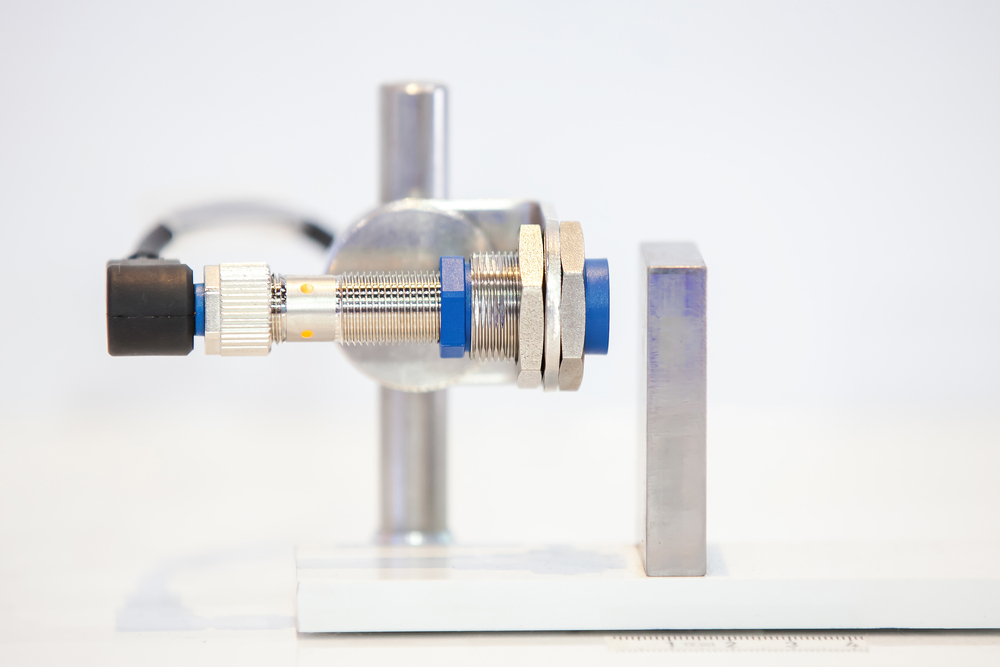
Proximity sensors have limits and they rely on positioning. Too much gap between the sensor and target will trigger intermittent faults. So will a slight misalignment that causes the target to enter the sensing field at an angle (or not at all). Address this by measuring the sensing distance and comparing it to spec. If that doesn’t illuminate the issue, check to see if the target moves laterally or vertically in a way that pulls it out of range. You should also confirm that the sensor hasn’t shifted slightly due to vibration or loose mounting hardware.
Step 4: Look closely at the cabling
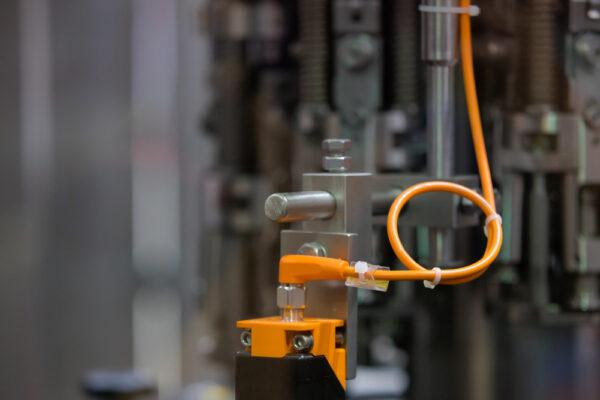
It’s not just the sensor head that fails. Cables take more abuse than most people realize. Vibration, flexing, or repeated washdowns can weaken insulation or damage the shield layer. Poor-quality field crimps or connectors can also corrode and cause signal loss. If a sensor fails during motion or only after restart, it’s often a cable, not a sensor. Look for nicks, compression, or hard bends. Open the connector shell and check contact pins, and be sure to test for continuity and shielding integrity.
Step 5: Test the power supply and controller input
Sometimes the sensor is healthy. The signal gets sent — but it doesn’t get read. Low voltage can cause false positives. In some cases, weak pull-up resistors or input impedance mismatch can suppress or distort the signal. Before replacing the sensor, check supply voltage at the sensor head, input terminal voltage under load, and signal swing amplitude and timing. If the readings aren’t stable, the controller input may be part of the problem.
Step 6: Swap the sensor and match the spec exactly
If the sensor is physically damaged or doesn’t respond under test, it’s time to replace it. But one sensor can be dramatically different from another, even if they look the same. Don’t substitute “close enough.” Match the component exactly or send it in for diagnostic and repair. Make sure the replacement matches:
- Sensing range and type (inductive, capacitive, ultrasonic, etc.)
- Output type (PNP, NPN, analog, etc.)
- Power requirements and polarity
- Thread size, housing material, and connector type
Step 7: Don’t guess — test, simulate, and verify
The best troubleshooting approach combines methodical testing with real-world verification. Don’t assume the fix worked just because the sensor responds — run the machine through its full cycle, simulate the actual operating conditions, and monitor performance over time.
For repairs you can count on, entrust your proximity sensor to GES. Now through the end of the month, we’re making it even easier to keep your safety equipment up to spec with 10% OFF single repairs or 15% OFF 3+ repairs!