

Megohmmeter Testing: How 5 Minutes Can Prevent a 5-Figure Repair
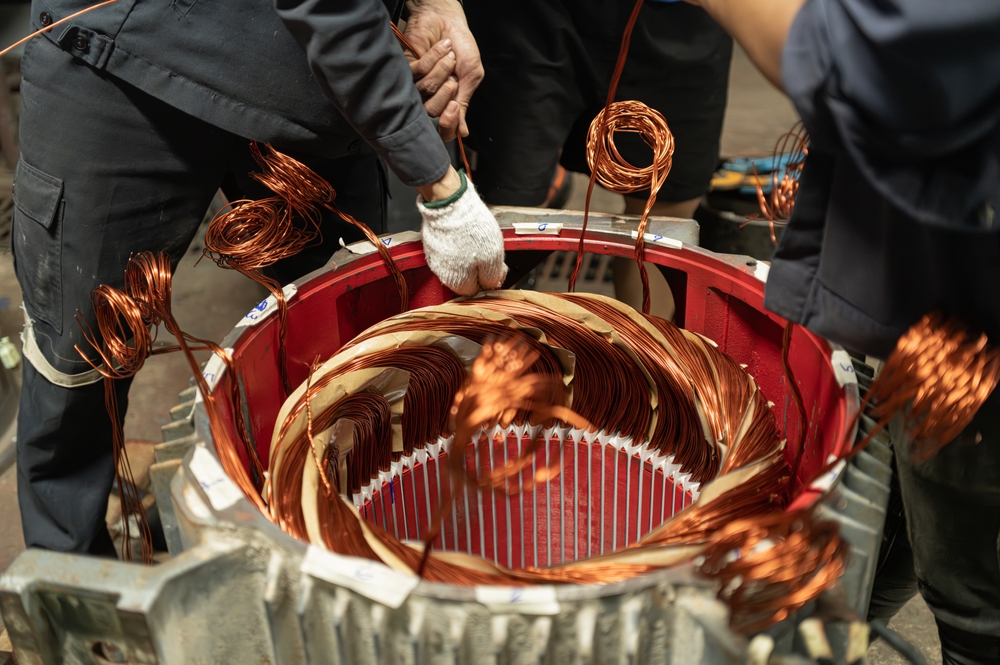
A motor fails midshift with no warning. The rewind or replacement cost runs well into five figures, plus whatever the downtime costs on top of it. The insulation degradation that caused it had been developing for months, and it was detectable the whole time with a megohmmeter and five minutes of work.
That’s the gap megohmmeter testing closes: not preventing insulation from aging, but preventing the facility from being surprised when it fails.
What a megohmmeter measures
Motor winding insulation degrades over time from heat cycling, moisture, contamination, and vibration. A standard multimeter won’t catch it. The test voltage is too low to stress the insulation enough to reveal weak spots.
A megohmmeter applies high DC voltage between the motor windings and frame, then measures insulation resistance in megohms. Healthy insulation resists current flow and produces a high reading. Degraded insulation leaks current and produces a low one, surfacing failure paths that won’t appear until the insulation breaks down under operating conditions.
What the numbers mean
Per IEEE 43, random-wound motors rated less than 1 kilovolt should show a minimum of 5 megohms. The rule of thumb for other motor classes is 1 megohm per kilovolt of rated voltage, plus 1 megohm. Clearing the minimum, though, isn’t the goal. Trending is. A motor that read 800 megohms six months ago and reads 12 megohms today is showing significant degradation, even though 12 megohms clears the threshold. That trend is the warning.
The Polarization Index (PI) adds another dimension: it’s the ratio of the 10-minute resistance reading to the 1-minute reading. A PI of 2.0 or higher indicates healthy insulation; below 1.0 is a red flag. Temperature affects readings, too: log tests at consistent conditions or correct to 40°C per IEEE 43 for valid comparison.

How to test correctly
- De-energize the motor and complete lockout/tagout before connecting anything.
- Disconnect the motor from its drive or starter, so as not to damage VFDs and soft starters.
- Verify the residual voltage is below 25V at the motor terminals before connecting leads.
- When connecting the megohmmeter, connect one lead to the motor winding terminals and the other to ground.
- Apply 500V DC for low-voltage motors; hold for one minute and record the reading.
- For PI, hold for 10 minutes and record the second reading.
- Discharge the winding after testing to eliminate any capacitive charge.
- Log the result with the date, motor temperature, and humidity conditions.
When and how often to test
IEEE 43-2013 recommends annual testing as a minimum. Motors in wet, dirty, or high-heat environments, or those on production-critical lines, warrant more frequent testing. Beyond the annual schedule, test in these situations:
- Before returning any motor to service after storage, rewinding, or repair
- After any overtemperature event that may have accelerated degradation
- After flooding, heavy condensation, or suspected moisture ingress
- Before connecting a used or spare motor to a VFD for the first time
Why a log makes testing valuable
One reading tells little; a trend tells everything. Megohmmeter testing built into a PM schedule, with results logged alongside the date and temperature, turns a five-minute procedure into an early warning system. A motor showing a downward trend can be scheduled for rewind or replacement during planned downtime. Without the test, that same motor may reach failure in the middle of a production run.
