How to Use an Oscilloscope
The oscilloscope was invented over 100 years ago, and it’s just as relevant and useful today as it was back then. From testing to helping service and repair electronics, the oscilloscope is an instrument that any tester or electronics engineer should understand how to use.
What Is an Oscilloscope?
A variety of oscilloscope types exist, ranging from analog to digital. While analog oscilloscopes were the first to be used, most versions today rely on digital signal processing.
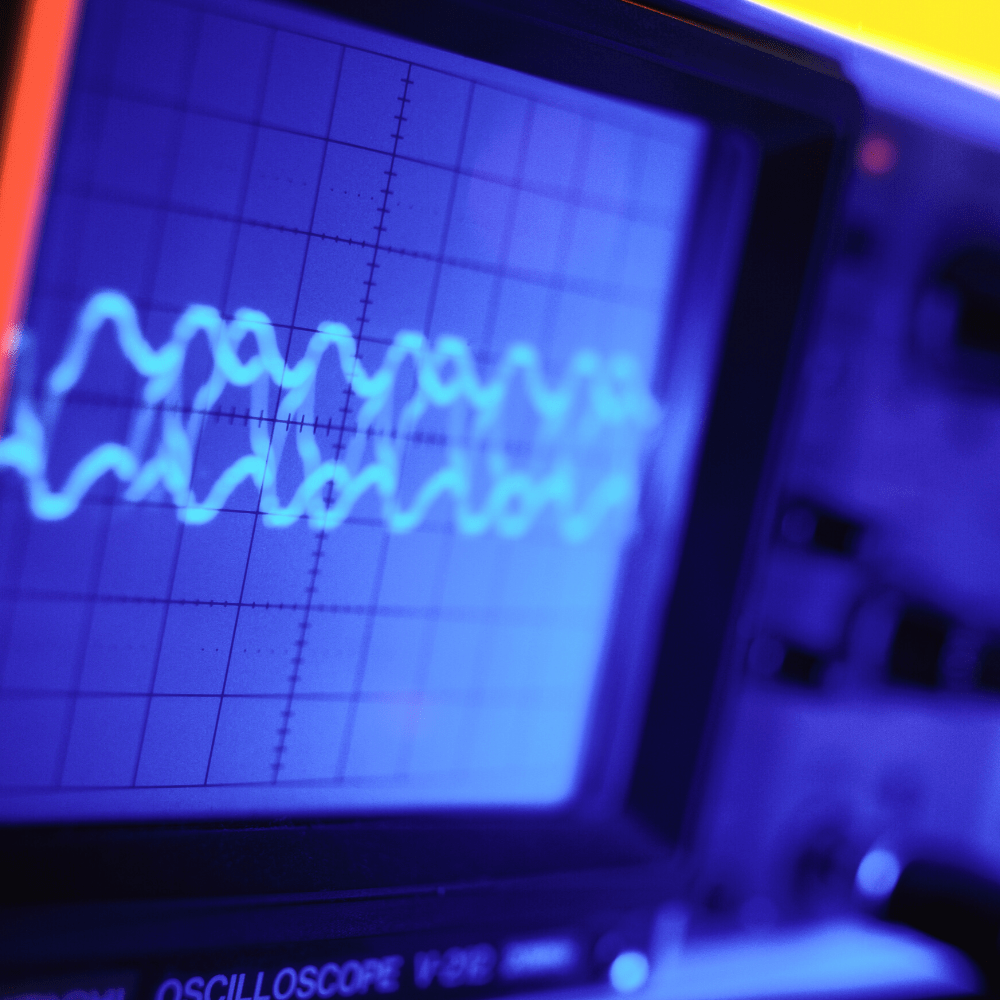
Regardless of the type, an oscilloscope’s purpose is the same — to display waveforms so that testers and electronic engineers can analyze and detect issues with the electronic circuits. It offers a way for you to see a long-term graph of a signal’s voltage. You’ll see the function of the oscilloscope by taking a look at the X-axis, which displays the time, and the Y-axis, which displays the amplitude.
How to Use This Instrument
One benefit of oscilloscopes is that they all tend to work similarly and use the same controls. To get you started, here are a few steps on how to use your oscilloscope:
- Turn on the power switch: Unsurprisingly, the first step is to turn the oscilloscope’s power on. The power switch, which can be labeled as “power” or “line,” will usually light up once it is turned on.
- Wait for the CRTs to warm up: Before you can start using your oscilloscope, you’ll have to wait about a minute for the cathode ray tubes (CRTs) to warm up. Semiconductor-based displays from years prior still use CRTs, and occasionally even newer displays will still need a little while to “warm up” before you can start measuring waveforms.
- Find the trace and set the horizontal gain control: If the trace is not visible once your oscilloscope is on, you can set the trigger to the center and turn the hold-off counter-clockwise. Make sure both the horizontal and vertical controls are in the center as well. Then, once you find the trace, it’s time to set the horizontal gain control, which needs to be set so that the trace almost fills the entire vertical screen. This step will depend on the volts of the waveform and the height of the screen.
- Change the oscilloscope’s timebase setting: Just like with the horizontal gain control, the timebase speed setting will vary based on what you’re trying to see. By using the waveform period and screen width, you can adjust the timebase speed to your specifications.
- Apply the signal and adjust the trigger level: After everything is adjusted, you should be able to apply the signal and start seeing an image on the display. Then, you’ll want to adjust the trigger level control, which will control where the timebase is triggered on the waveform.
- Adjust the controls: Now, you can make the final adjustments on the timebase and vertical gain controls to create a sharper image.
Have Any Questions? Contact Global Electronic Services Today!
Here at Global Electronic Services, we repair and service everything from industrial electronics to AC & DC motors. Using the latest technology, we can guarantee quick services that minimize downtime for your business.
Whether you have a question about an oscilloscope or want to learn more about our comprehensive repair solutions and services, give us a call at 877-249-1701.