A Step-by-Step Guide to Encoder Repairs

Encoders are critical components in manufacturing equipment, responsible for accurately measuring position, speed, and direction. When an encoder malfunctions, it can lead to production downtime and quality issues. Troubleshooting and fixing the issue is a complex, step-by-step process, requiring extensive investigation and precision servicing. Here’s how to repair a damaged encoder and get production back on track.
Step 1: Visual inspection
The first step in encoder repair is a thorough visual inspection. Technicians need to carefully examine the encoder’s exterior for any visible damage or anomalies. This includes inspecting the housing, connectors, cables, and any other external components. Identifying physical damage is crucial, as it can be a clear indication of potential issues within the encoder.
Step 2: Shaft rotation and stress test
Once the encoder’s physical components are determined to be in good condition, the technician proceeds to the next step: the shaft rotation and stress test. This involves manually rotating the encoder’s shaft to check for smooth operation and to identify any resistance or irregularities. The goal is to ensure the encoder’s bearings are functioning correctly. Any unusual noises or rough movements during this test can signal problems with the bearings.
Step 3: Rotational test with applied power
With the initial inspections complete, applying power to the encoder is the next step. This is done to perform a rotational test under real operating conditions. The technician connects the encoder to its power source and runs it through a series of rotations at specified speeds to identify issues related to electrical connections, power supply, or internal components apparent only when the encoder is in operation.

Step 4: Verification of signals and counts
During the rotational test, the technician must closely monitor the signals, pulses, and counts generated by the encoder. These measurements are compared against the original equipment manufacturer (OEM) specifications to ensure accuracy. Any discrepancies or deviations from the expected values are carefully noted, as they can indicate problems with the encoder’s internal electronics or signal-processing components.
Step 5: Identification and replacement of defective components
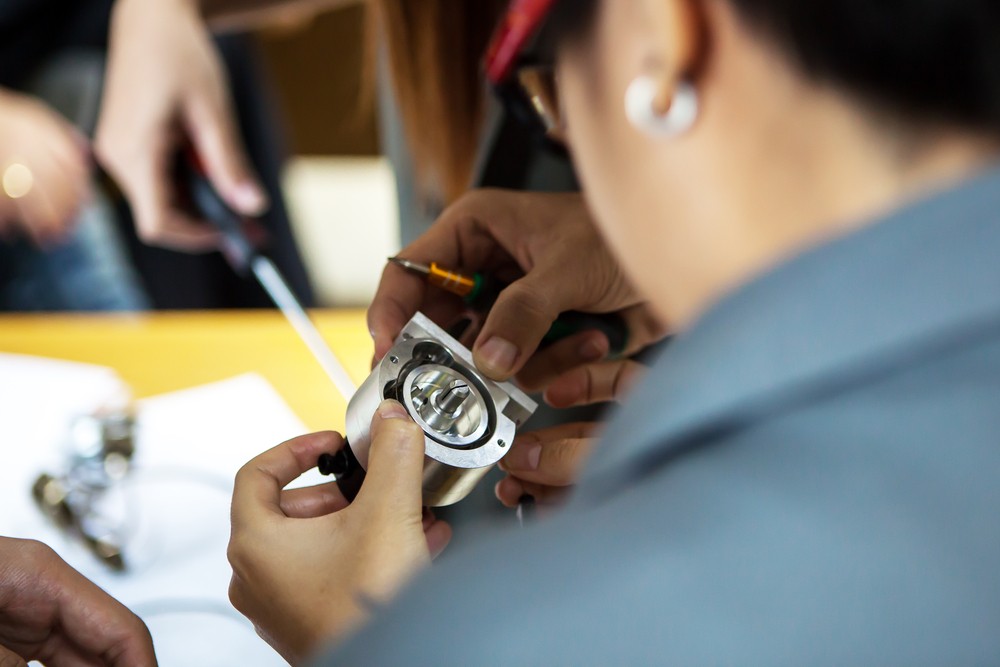
If the encoder fails to meet OEM specifications — or if any defective components are identified during the previous steps — the next course of action is to pinpoint the problematic parts. This might involve disassembling the encoder to access its internal components, such as sensors, circuit boards, or wiring. Once identified, defective components are replaced with new, functioning parts to restore the device’s performance to its original specifications.
Step 6: Cleaning and retesting
After repairs and component replacements are complete, the entire encoder unit should be carefully cleaned to remove any dust, debris, or contaminants accumulated during the repair process. Cleanliness is essential to prevent further issues and maintain the encoder’s accuracy. Once cleaned, the part undergoes a final round of testing to confirm all issues have been resolved and OEM specifications are met.
Delicate parts require a delicate approach
Repairing encoders is a meticulous, systematic process, so it requires attention to detail and technical expertise. The entire process must be handled by a knowledgeable technician with a focus on component integrity every step of the way. A delicate approach minimizes production downtime and extends the lifespan of the equipment.
